


When it comes to making a good first impression on your Shopify store, nothing speaks louder than typography. If you're wondering how to change font in Shopify, here’s a quick answer:
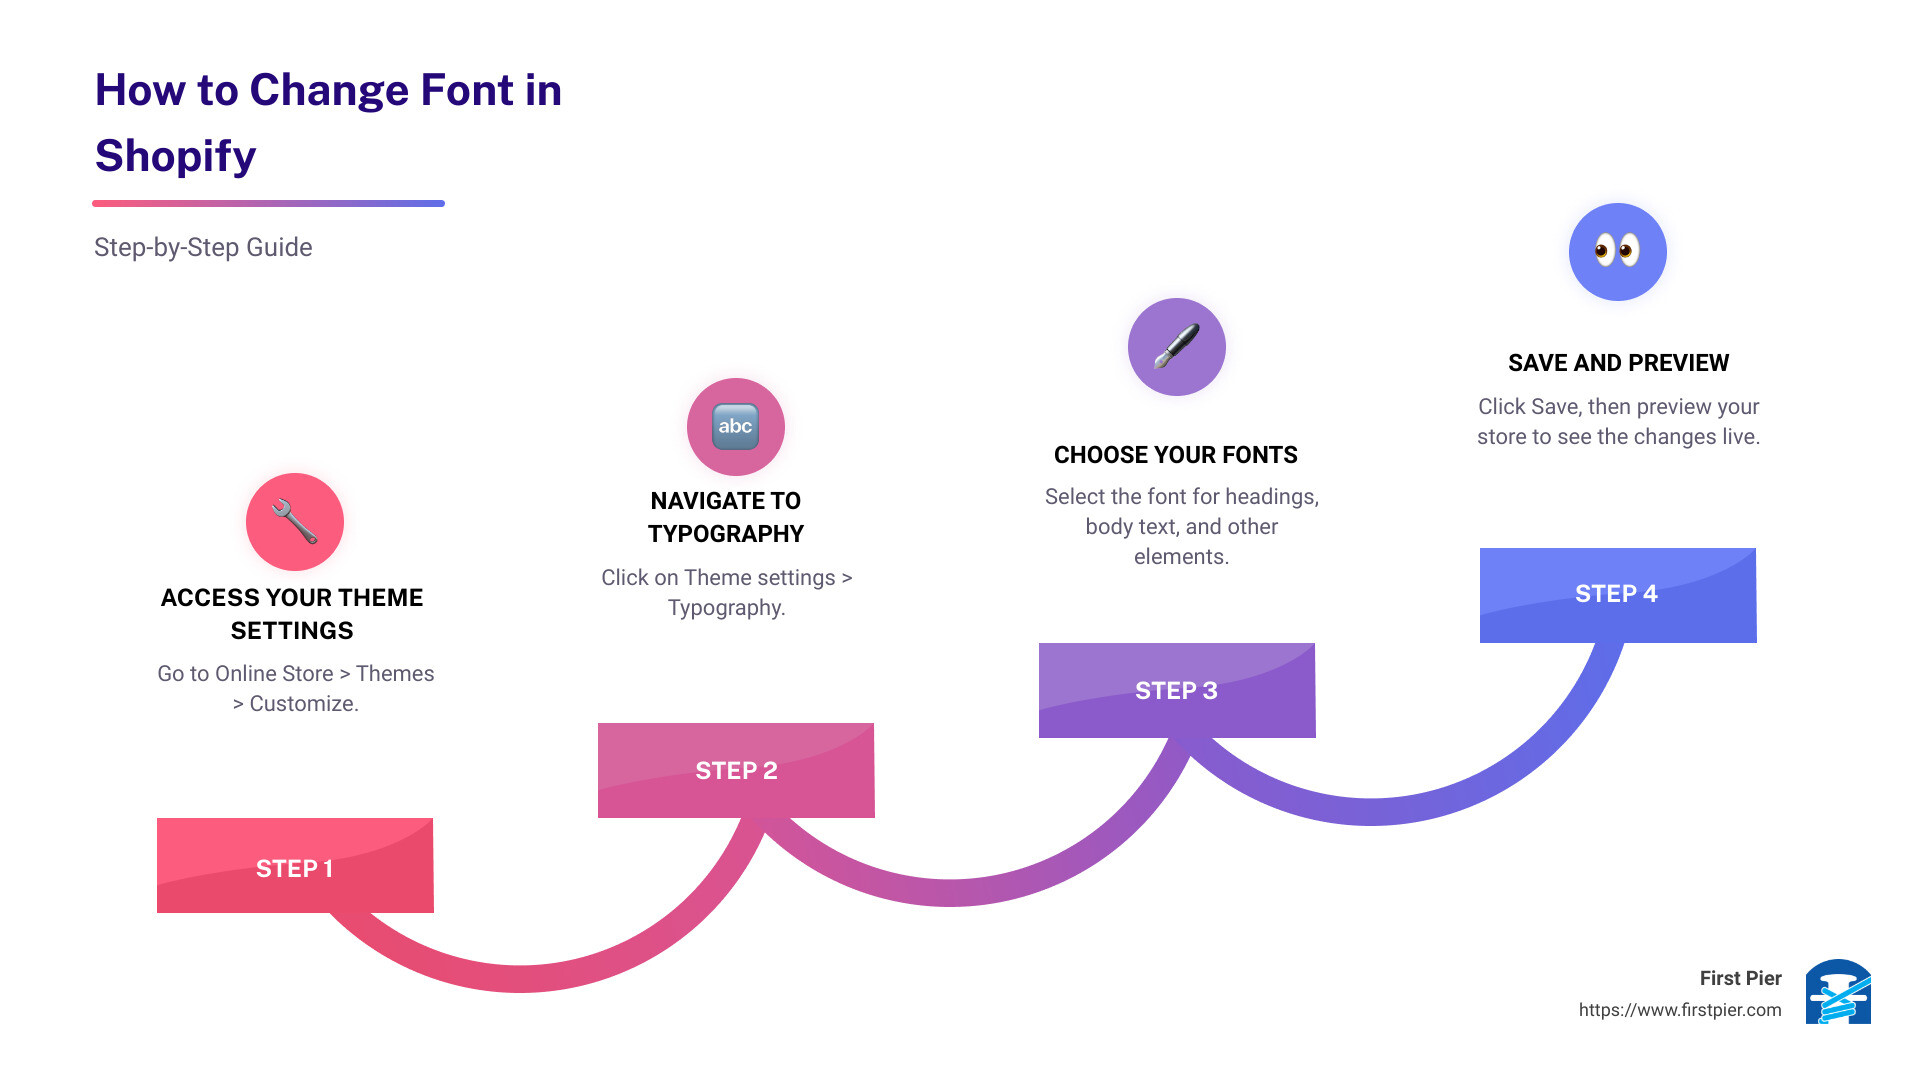
- Access Your Theme Settings: Go to Online Store > Themes > Customize.
- Navigate to Typography: Click on Theme settings > Typography.
- Choose Your Fonts: Select the font for headings, body text, and other elements.
- Save and Preview: Click Save, then preview your store to see the changes live.
Changing fonts not only enhances visual appeal but also plays a vital role in user experience and conversions. Thoughtful typography can make your store look professional and trustworthy, improve readability, and align with your brand's personality.
My name is Steve Pogson, and I've spent over 20 years helping e-commerce businesses optimize their online stores. One key focus has always been how to change font in Shopify to create a visually compelling and user-friendly shopping environment.
Let's dive deeper into how you can tailor typography to take your Shopify store to the next level.
Understanding Shopify's Typography Options
When it comes to tailoring typography in Shopify, you have several powerful tools at your disposal. Let's break down the options available to you through theme settings and font libraries.
Theme Settings
Shopify's theme settings allow you to make broad changes to your store's typography, colors, and layout. This means you can adjust fonts across your entire site without touching a single line of code.
- Accessing Theme Settings: Go to your Shopify admin panel, navigate to Online Store > Themes > Customize. Here, you can find the Theme Settings button, usually represented by a paintbrush icon.
- Typography Section: Within the theme settings, click on the Typography section. This is where you can change the font family, size, weight, and style for various text elements like headings, body text, and buttons.

Font Library
Shopify offers a comprehensive font library where you can choose from a variety of fonts to match your brand's style. These fonts are categorized into two main types: System Fonts and Custom Fonts.
- System Fonts: These are pre-installed on your customers' devices, ensuring faster load times. Examples include Arial, Helvetica, and Times New Roman. Using system fonts can optimize your store's performance.
- Custom Fonts: These are fonts that are not pre-installed and need to be downloaded when a customer visits your site. While they can make your store stand out, they might slightly impact load times. Shopify supports several custom fonts through its built-in library.
Custom Fonts
If you want to go beyond Shopify's default options, you can add custom fonts to your store. This can make your site unique and better aligned with your brand identity.
- Adding Google Fonts: You can easily add Google Fonts to your Shopify store. Visit the Google Fonts site, choose your desired font, and follow Shopify's instructions to integrate it into your theme.
- Third-Party Fonts: For even more customization, you can use third-party fonts. This involves uploading font files and modifying your theme's CSS. It's a bit more complex but offers unparalleled flexibility.
Practical Example
Consider the case of Jane's Boutique, an online store selling handmade jewelry. Jane used Shopify's default theme but wanted to give her store a unique touch. She accessed the theme settings and selected a custom Google Font that matched her brand's elegant style. The result? A cohesive and visually appealing store that improved customer engagement and sales.

By understanding and utilizing these typography options, you can create a visually stunning and user-friendly Shopify store. Next, we'll dive into the practical steps of how to change fonts in Shopify, ensuring your store looks exactly how you envision it.
How to Change Font in Shopify
Accessing Theme Customization
To change the font in Shopify, you first need to access the theme customization settings. Start by logging into your Shopify admin dashboard. Navigate to the Online Store tab and select Themes. Choose the theme you want to customize and click on the Customize button to enter the theme editor.
Navigating to Typography Settings
Once in the theme editor, look for the sidebar on the left-hand side. Here, you'll find various customization options. Find and click on the Typography or Fonts section. This is where you can adjust your font settings, including the font family and font size.
Selecting Fonts for Different Elements
Within the typography settings, you'll see a list of text elements you can customize, such as headings, body text, and buttons. Click on the specific text element you want to change. A drop-down menu or list of fonts will appear, allowing you to select the desired font for that element.
For example:- Headings: Choose a bold, eye-catching font.- Body text: Opt for a readable, neutral font.- Buttons: Select a font that stands out but complements your headings and body text.
Customizing Font Style and Appearance
After selecting your fonts, you can further customize their appearance. Adjust settings like font weight, style, and size using sliders or input fields. These adjustments help create a visual hierarchy, ensuring that important text elements stand out.
For instance:- Font weight: Use a heavier weight for headings to make them more prominent.- Font size: Ensure body text is large enough to be easily readable.
Previewing and Applying Changes
Before finalizing your changes, use the live preview feature to see how your new fonts look on your store. This allows you to make any necessary tweaks. Once you're satisfied, click Save settings to apply the changes.
By following these steps, you can tailor your store’s typography to match your brand’s identity and improve the overall user experience. Next, we'll explore how to add custom fonts to your Shopify store, giving you even more flexibility in your design choices.
Adding Custom Fonts to Your Shopify Store
Adding custom fonts to your Shopify store can set your brand apart. While Shopify offers a decent selection of fonts, custom fonts can provide a unique touch that aligns perfectly with your brand's identity.
Google Fonts
Google Fonts is a popular choice for adding custom fonts to Shopify. They offer a vast library of free-to-use fonts, making it easy to find something that fits your style.
Here’s how to add a Google Font:
- Visit Google Fonts: Navigate to Google Fonts and choose your desired font.
- Select and Embed: Click on the font, then select the styles you want to use. Google will provide an embed code.
- Edit Shopify Code: Go to your Shopify Admin > Online Store > Themes > Actions > Edit Code.
-
Add Font to Theme: In the Layout folder, open theme.liquid. Paste the Google Fonts embed code inside the
<head>tag.
html<link href="https://fonts.googleapis.com/css2?family=YourFontName&display=swap" rel="stylesheet">
- Apply Font in CSS: Find your theme’s CSS file in the Assets folder (usually named theme.scss.liquid). Add the following code to apply the font:
cssbody { font-family: 'YourFontName', sans-serif;}
Third-Party Fonts
If Google Fonts doesn’t have what you need, you can use third-party fonts. Websites like Font Squirrel offer a variety of fonts that you can download and use.
File Types
When adding custom fonts, make sure you have the correct file types. The most common web font formats you’ll need are:
- WOFF
- WOFF2
These formats ensure compatibility and performance across different browsers.
Adding Custom Fonts via CSS
To add a custom font, you need to upload the font files to your Shopify store and then reference them in your CSS.
- Upload Font Files: From your Shopify Admin, go to Online Store > Themes > Actions > Edit Code. In the Assets folder, click Add a new asset and upload your font files.
- Edit CSS File: In the same Assets folder, open your main CSS file (e.g., theme.scss.liquid). Add the following code at the bottom:
css@font-face { font-family: 'YourCustomFont'; src: url('{{ "yourfont.woff2" | asset_url }}') format('woff2'), url('{{ "yourfont.woff" | asset_url }}') format('woff'); font-weight: normal; font-style: normal;}
- Apply Font: Use the custom font in your CSS by specifying the font-family:
cssbody { font-family: 'YourCustomFont', sans-serif;}
Theme Files
Customizing theme files is crucial for adding custom fonts. Ensure you back up your theme before making any changes. This way, you can revert if something goes wrong.
By following these steps, you can add custom fonts to your Shopify store, giving you endless possibilities to match your brand’s unique style. Next, we'll dive into the best practices for typography in eCommerce to ensure your choices enhance readability and user experience.
Best Practices for Typography in Ecommerce
Readability
Readability is crucial for any ecommerce store. If your customers can't easily read your content, they'll quickly leave.
Tips for improving readability:
- Choose clear fonts: Opt for sans-serif fonts like Arial or Helvetica for body text. They're easy to read on screens.
- Font size matters: Ensure your body text is at least 16px. Smaller text can strain the eyes.
- Line height and spacing: Use sufficient line height (1.5x the font size) and spacing between paragraphs to make your text easy to scan.
Brand Identity
Your font choices should reflect your brand's personality. Consistent typography helps build brand recognition and trust.
Consider these elements:
- Match your brand’s tone: If your brand is playful, consider using a fun, quirky font. For a luxury brand, opt for elegant serif fonts.
- Consistency is key: Use the same fonts across all your marketing materials, from your website to your emails.
- Custom fonts: If you have a unique brand font, make sure to integrate it into your Shopify store. This will make your brand stand out.
Font Psychology
Font psychology is the study of how different fonts evoke different emotions and behaviors.
Examples of font psychology:
- Trust and reliability: Fonts like Georgia or Times New Roman convey trustworthiness.
- Modern and clean: Fonts like Arial or Helvetica give a modern, clean feel.
- Excitement and fun: Fonts like Comic Sans (use sparingly!) or Lobster can make your site feel more playful.
Mobile Responsiveness
With more people shopping on their phones, your fonts must look good on all screen sizes.
Tips for mobile responsiveness:
- Responsive design: Ensure your fonts scale correctly on different devices. Test your site on various screen sizes.
- Font size: Mobile screens are smaller, so your font size should be slightly larger to maintain readability.
- Touch-friendly: Ensure buttons and links are large enough to tap easily without zooming in.
By following these best practices, you'll create a visually appealing, readable, and brand-consistent Shopify store that works well on all devices. Next, we'll answer some frequently asked questions about changing fonts in Shopify to help you fine-tune your typography choices.
Frequently Asked Questions about Changing Fonts in Shopify
How do I import a custom font into Shopify?
Importing a custom font into Shopify might sound tricky, but it's pretty straightforward. Here’s a step-by-step guide:
-
Download the Webfont version of your custom font. Ensure it includes formats like
.woffor.woff2. - Access your Shopify Admin, go to Online Store > Themes. Click on Actions > Edit Code.
- In the sidebar, locate the Assets folder. Click on Add a new asset and upload your font files.
-
Edit the CSS file (usually
theme.scss.liquidorstyles.css). Add the following code at the bottom: css@font-face { font-family: "YourFontName"; src: url("YourFontFile.woff2") format("woff2"), url("YourFontFile.woff") format("woff");}- Apply the font to specific elements by adding another CSS rule:
css.your-css-selector { font-family: "YourFontName", sans-serif;}- Save your changes and preview your store to see the new font in action.
This method ensures your custom font is integrated seamlessly into your Shopify theme.
Can I change fonts for specific sections only?
Absolutely! Shopify allows you to customize fonts for specific sections using CSS. Here’s how:
- Identify the section you want to change. Use your browser’s developer tools (right-click on the element and select "Inspect") to find the CSS selector for that section.
-
Edit your theme’s CSS file (
theme.scss.liquidorstyles.css). Add a rule targeting the specific selector, like this: css.your-section-class { font-family: "YourChosenFont", sans-serif;}- Save your changes and refresh your store to see the updates.
For example, if you want to change the font of your product titles, you might use:
css.product__title { font-family: "YourChosenFont", sans-serif;}
This way, you can tailor the typography for different parts of your store, enhancing the overall design and user experience.
What are the best fonts for increasing readability?
Readability is crucial for keeping visitors engaged. Here are some top fonts known for their readability:
- Sans-serif fonts: Fonts like Arial, Helvetica, and Open Sans are clean and easy to read on screens.
- Serif fonts: Georgia and Times New Roman are classic choices that work well for body text.
- Google Fonts: Fonts like Roboto, Lato, and Montserrat are popular for their modern look and excellent readability.
Tips for choosing readable fonts:
- Consistency: Use the same font family throughout your site to create a cohesive look.
- Size and spacing: Ensure your font size is large enough to read comfortably. Adequate line spacing (1.5em or more) improves readability, especially for longer texts.
- Contrast: High contrast between text and background helps make your content more legible.
By selecting fonts that are easy to read, you’ll enhance the user experience and keep visitors on your site longer.
Now that we've covered these common questions, you're well-equipped to make informed typography choices for your Shopify store. Next, we'll dive into best practices for typography in e-commerce to ensure your store not only looks good but also performs well.
Conclusion
Typography is more than just picking a pretty font—it's a critical component of your store's user experience and brand identity. By carefully selecting and customizing your fonts, you can make your Shopify store more engaging and easier to navigate.
At First Pier, we specialize in helping you optimize every aspect of your Shopify store, including typography. Whether you're looking to improve readability, enhance your brand's visual appeal, or boost conversions, our team of experts is here to guide you.
Why Choose First Pier?
Shopify Optimization: We don't just set up your store; we optimize it for performance and user experience. This includes everything from typography to SEO.
E-commerce Success: Our proven strategies help you grow your online business. With our expertise, you can focus on what you do best—running your business—while we handle the technical details.
Ready to take your Shopify store to the next level? Start optimizing your store with First Pier today.
By leveraging our expertise, you can create an online store that not only looks fantastic but also performs exceptionally well. Let's grow together with a custom Shopify theme tailored to your needs.
Enjoyed this guide? There's more where that came from! Subscribe to our blog for endless e-commerce wisdom.


.png)
.png)

