


Why Shopify Migration is Important
Mastering Shopify Migration can transform your eCommerce business in just 30 days. If you're looking to move your online store to Shopify, here's a quick overview:
- Plan your migration: Inventory your data, choose what to migrate.
- Choose a migration method: Manual, CSV, apps, or a Shopify Partner.
- Verify data and set up your store: Check product details, set up shipping and taxes.
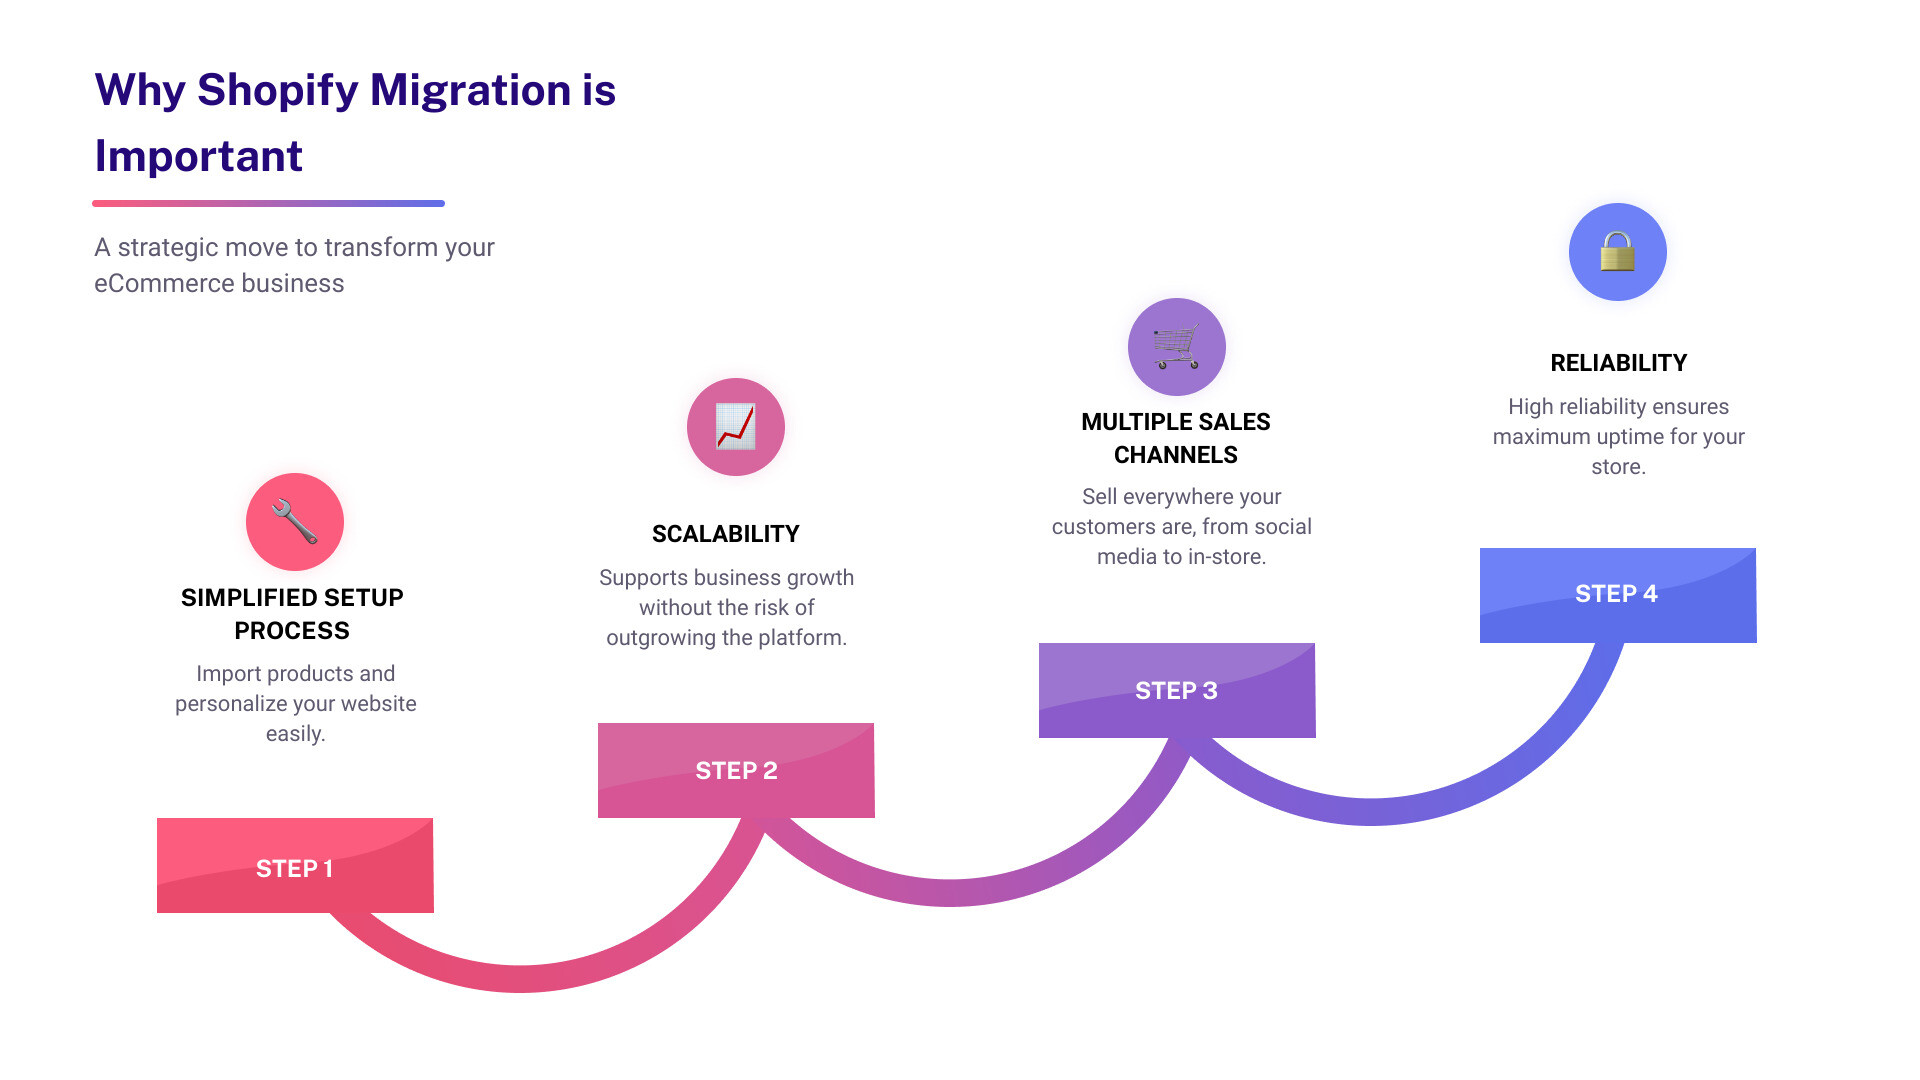
Migrating your eCommerce platform to Shopify is a strategic move that can bring numerous benefits. Shopify offers an all-in-one solution, with features that help you scale, customize, and streamline your online business.
Firstly, Shopify simplifies the setup process. Whether you're importing products or personalizing your website, Shopify makes it easy. Also, the platform is highly scalable, supporting your business growth without the fear of outgrowing the platform.
Secondly, Shopify provides numerous sales channels. From social media to in-store sales, it helps you sell everywhere your customers are. Plus, its high reliability means maximum uptime for your store, ensuring you never miss a sale.
Migrate to Shopify and enjoy these benefits that can take your eCommerce business to the next level.
Step-by-Step Guide to Shopify Migration
Import Your Store's Content and Data
After setting up your basic admin settings on Shopify, the first step in your migration is importing your store's content and data. This includes products, customers, historical orders, gift cards, blogs, and pages.
Here's how to do it:
- Products: You can import products using CSV files, third-party migration apps, or the Product API. This ensures all product details like names, SKUs, descriptions, prices, and images are accurately transferred.
- Customers: Export your customer data into a CSV file and import it into Shopify. Ensure customer names, emails, and addresses are correctly mapped.
- Historical Orders: Use migration apps or the Order API to transfer historical orders. This helps maintain order history and customer records.
- Gift Cards: Use the GiftCard API or migration apps to import gift cards, certificates, and store credits.
- Blogs and Pages: Blogs can be transferred using migration apps or the Blog API, while pages like shipping policies and contact information can be imported manually or using the Page API.
Verify and Organize Your Products
Once your data is imported, it's crucial to verify and organize your products.
Steps to follow:
- Review Product Details: Check that all product information, such as price, weight, and inventory, is correctly imported. Missing details can impact your sales.
- Create Collections: Organize products into collections to group them by category. This helps in better product management and improves customer navigation on your website.
- Manage Inventory: Use inventory management tools available in Shopify to keep track of stock levels. This is essential for smooth order fulfillment and avoiding stockouts.
Customize Your Website's Appearance
Your website's look and feel are crucial for customer engagement. Shopify offers both free and paid themes to help you get started.
Steps to customize your theme:
- Choose a Theme: Start with a free theme from the Shopify admin or purchase a paid theme from the Shopify Theme Store. Paid themes can be tried before buying to ensure they fit your needs.
- Customize Your Theme: Use the theme editor to tweak the design, colors, and layout to match your brand. This includes customizing your homepage, product pages, and checkout process.
- Add Visuals: Ensure your website is visually appealing by adding high-quality images and engaging visuals.
Set Up Shipping and Taxes
Properly setting up shipping and taxes is vital to avoid issues with order fulfillment and compliance.
Steps to set up shipping:
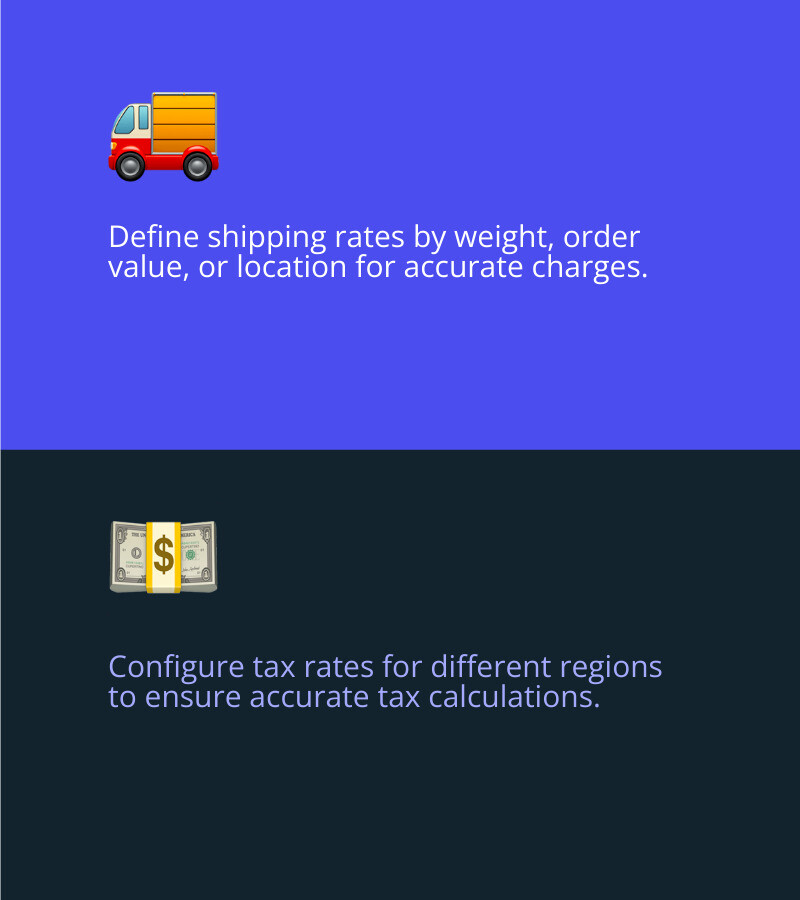
- Shipping Rates: Define shipping rates based on weight, order value, or location. This ensures customers are charged correctly.
- Shipping Zones: Set up shipping zones to specify regions where you ship products. This helps in managing delivery times and costs.
Steps to configure taxes:
- Tax Rates: Configure tax rates for different regions. Shopify can automate tax calculations, but it's important to verify the rates to avoid discrepancies.
- Tax Policies: Clearly state your tax policies on your website to keep customers informed.
Configure Payment Providers
Setting up payment providers is essential for processing transactions smoothly.
Steps to set up payments:
- Shopify Payments: Enable Shopify Payments for a seamless transaction experience. This integrated solution supports various payment methods and offers competitive rates.
- Third-Party Providers: If needed, set up third-party payment gateways like PayPal, Stripe, or others. Ensure they are configured correctly to avoid payment issues.
By following these steps, you can ensure a smooth and efficient Shopify Migration. This process sets the foundation for a successful eCommerce store on Shopify, ready to deliver an best shopping experience.
Next, let's move on to testing and launching your Shopify store to ensure everything is working perfectly before you go live.
Testing and Launching Your Shopify Store
Place Test Orders
Placing test orders is a critical step before launching your Shopify store. This ensures that everything from the checkout process to order fulfillment functions correctly.
Steps to place test orders:
- Enable Test Mode: If you’re using Shopify Payments, enable test mode to simulate transactions without real charges.
- Create Test Orders: Go through the checkout process as if you were a customer. Verify that shipping rates, discount codes, and taxes are applied correctly.
- Check for Successful Transactions: Confirm that orders go through successfully and that you receive order confirmation emails.
- Simulate Failed Transactions: Test scenarios where a payment fails. Ensure that the system handles these gracefully and informs the customer appropriately.
- Process Refunds: Test the refund process to make sure you can handle returns and refunds smoothly.
- Order Fulfillment: Complete the fulfillment process for test orders to ensure your workflow is seamless from order to delivery.
Add Staff and Set Permissions
If you have a team helping you run your store, adding staff members and setting permissions is essential for security and efficiency.
Steps to add staff and set permissions:
- Add Staff Members: Go to your Shopify admin, steer to Settings > Users and permissions, and click Add staff. Enter their name and email address.
- Set Permissions: Assign specific permissions to each staff member based on their role. For example, limit access to financial data for non-admin staff.
- Personal Login Credentials: Each staff member will receive an email to set up their login credentials. This ensures that sensitive information remains secure.
- Review Access Regularly: Periodically review and update permissions to ensure they align with your team’s roles and responsibilities.
Set Up Your Domain
Your domain is your store’s address on the web. Setting it up correctly is crucial for branding and customer access.
Steps to set up your domain:
- Buy a New Domain: You can purchase a new domain directly from Shopify. This is the easiest way to get started.
- Connect an Existing Domain: If you already have a domain, you can connect it to your Shopify store. Follow the steps in the Shopify admin under Settings > Domains.
- Set Primary Domain: Ensure your Shopify domain is set as the primary domain. This will be the URL displayed to customers in their browser, in search results, and on social media.
- Set Up URL Redirects: If you’re transferring from another platform, set up URL redirects to ensure old links point to the correct pages on your new Shopify store. This helps avoid 404 errors and maintains your SEO ranking.
- Email Forwarding: Set up email forwarding so that messages sent to your custom domain email address are redirected to your personal email address.
By following these steps, you can ensure that your Shopify store is fully functional and ready for launch. Next, we’ll cover optimizing your store for SEO to help customers find you online.
Optimizing Your Shopify Store for SEO
Set Up SEO for Success
Setting up SEO for your Shopify store is crucial for driving organic traffic and improving visibility in search results. Here’s how to get started:
1. Craft Unique Meta Descriptions
Meta descriptions are the snippets of text that appear under your page title in search results. They should be unique, concise, and include relevant keywords.
Steps to edit meta descriptions:
- Product Pages: Steer to your product in the Shopify admin, scroll down to the Search engine listing preview, and click Edit website SEO. Update the Meta description field.
- Collection Pages: Go to Products > Collections, select a collection, and edit the Search engine listing preview.
- Blog Posts: Find your blog post under Online store > Blog posts, and update the meta description in the Search engine listing preview.
Tip: Keep your meta descriptions under 160 characters to ensure they display correctly in search results.
2. Optimize Your Search Engine Listing
Ensure your titles and URLs are optimized with relevant keywords. This helps search engines understand your content and rank it appropriately.
Steps to optimize search engine listings:
- Edit Titles: Use clear, keyword-rich titles for products, collections, and blog posts.
- Clean URLs: Keep URLs short and descriptive. Avoid using unnecessary words or special characters.
3. Submit Your Store to Google Search Console
Google Search Console is a free tool that helps you monitor your site’s presence in Google Search results. It’s essential for identifying and fixing SEO issues.
Steps to submit your store:
- Sign Up for Google Search Console: Go to Google Search Console and sign up.
- Add Your Property: Enter your store’s URL and follow the verification steps.
-
Submit Sitemap: Steer to the Sitemaps section and enter
sitemap.xml(e.g.,yourstore.com/sitemap.xml). Click Submit.
Verify and Submit Your Sitemap
A sitemap is a file that lists all the pages on your website, helping search engines crawl and index your site more efficiently.
Steps to find and submit your sitemap:
-
Locate Your Sitemap: Shopify automatically generates a sitemap for your store, usually found at
yourstore.com/sitemap.xml. - Submit to Google Search Console: In Google Search Console, go to the Sitemaps section. Enter the URL of your sitemap and click Submit.
Tip: Regularly check your sitemap to ensure all new pages are indexed by Google.
4. Set Up URL Redirects
If you’re migrating from another platform, setting up URL redirects is essential to preserve your SEO rankings and avoid 404 errors.
Steps to set up URL redirects:
- Steer to Redirects: In your Shopify admin, go to Online store > Navigation.
- Create Redirects: Click URL Redirects > Create URL redirect. Enter the old URL in the Redirect from field and the new URL in the Redirect to field.
- Save and Test: Save the redirect and test by entering the old URL in your browser. It should redirect to the new URL seamlessly.
By following these steps, you can ensure your Shopify store is optimized for search engines, making it easier for customers to find you online. Up next, we’ll dive into frequently asked questions about Shopify migration.
Frequently Asked Questions about Shopify Migration
What is Migration in Shopify?
Migration in Shopify refers to the process of transferring your online store from another eCommerce platform to Shopify. This involves moving data such as products, customers, orders, and other essential content. The goal is to ensure a smooth transition with minimal disruption to your business operations.
When migrating, you can use various methods like manual data entry, CSV file imports, or third-party migration apps. Each method has its own pros and cons, depending on the complexity and volume of your data.
Can I Transfer My Shopify Store to Another Platform?
Yes, you can transfer your Shopify store to another platform if needed. While Shopify makes it easy to migrate data into its system, moving data out requires careful planning and the right tools.
You can use third-party migration apps like Cart2Cart to facilitate the transfer. These apps can help you export data such as products, orders, customers, and more to your new platform. Each eCommerce platform has its own data structure, so some manual adjustments may be necessary.
How Do I Transfer Items from One Shopify Store to Another?
Transferring items between Shopify stores is straightforward. Here’s how you can do it:
- Export Data from Source Store: Go to your Shopify admin, steer to Products, and click Export. Choose the CSV format to download your product data.
- Import Data to Target Store: In the target Shopify store, go to Products and click Import. Upload the CSV file you exported from the source store.
- Verify Data: After importing, check your product details to ensure everything transferred correctly.
For a more automated process, you can use migration apps like Matrixify, which support various data types including products, customers, and orders.
What are Migration Apps and How Do They Help?
Migration apps are third-party tools designed to simplify the data transfer process between eCommerce platforms. These apps can handle complex data structures and large volumes of data, making the migration process more efficient and less error-prone.
Benefits of Migration Apps:
- Automated Data Transfer: Apps automate the import and export process, reducing manual work.
- Data Integrity: They help ensure data is transferred accurately without loss.
- Time-Saving: Speed up the migration process, allowing you to get your new store up and running faster.
How Does Data Transfer Work in Shopify?
Data transfer in Shopify involves moving various data types such as products, customers, orders, and more from your old platform to Shopify. Here’s a quick overview of the common methods:
- CSV Files: Export data from your old platform into CSV files and import them into Shopify.
- Migration Apps: Use apps like Cart2Cart or Matrixify for a more automated and comprehensive migration.
- Shopify API: For custom migrations, developers can use Shopify’s API to transfer data programmatically.
What is Shopify POS and How Do I Migrate to It?
Shopify POS (Point of Sale) is a system that allows you to sell products in person using Shopify. If you’re migrating your retail store to Shopify POS, follow these steps:
- Set Up Shopify POS: Install the Shopify POS app on your devices and configure your hardware.
- Import Products: Ensure all your products are imported into Shopify, including inventory and variants.
- Configure Payment Methods: Set up payment providers to accept various payment types in-store.
- Train Staff: Make sure your team is familiar with using Shopify POS.
By using these steps and tools, you can ensure a smooth and successful migration to Shopify, whether you're moving from another platform or transferring data between Shopify stores. Up next, we’ll dive into testing and launching your new Shopify store.
Conclusion
Migrating to Shopify is more than just a data transfer; it's a strategic move to grow your business and improve your online presence. At First Pier, we specialize in making this transition as smooth and efficient as possible.
Our Expertise in Shopify
We are a full-service e-commerce agency based in Portland, Maine, with a deep understanding of Shopify development and optimization. Our team knows how to leverage Shopify's robust features to build high-performance online stores for brands and boutiques.
E-Commerce Success Stories
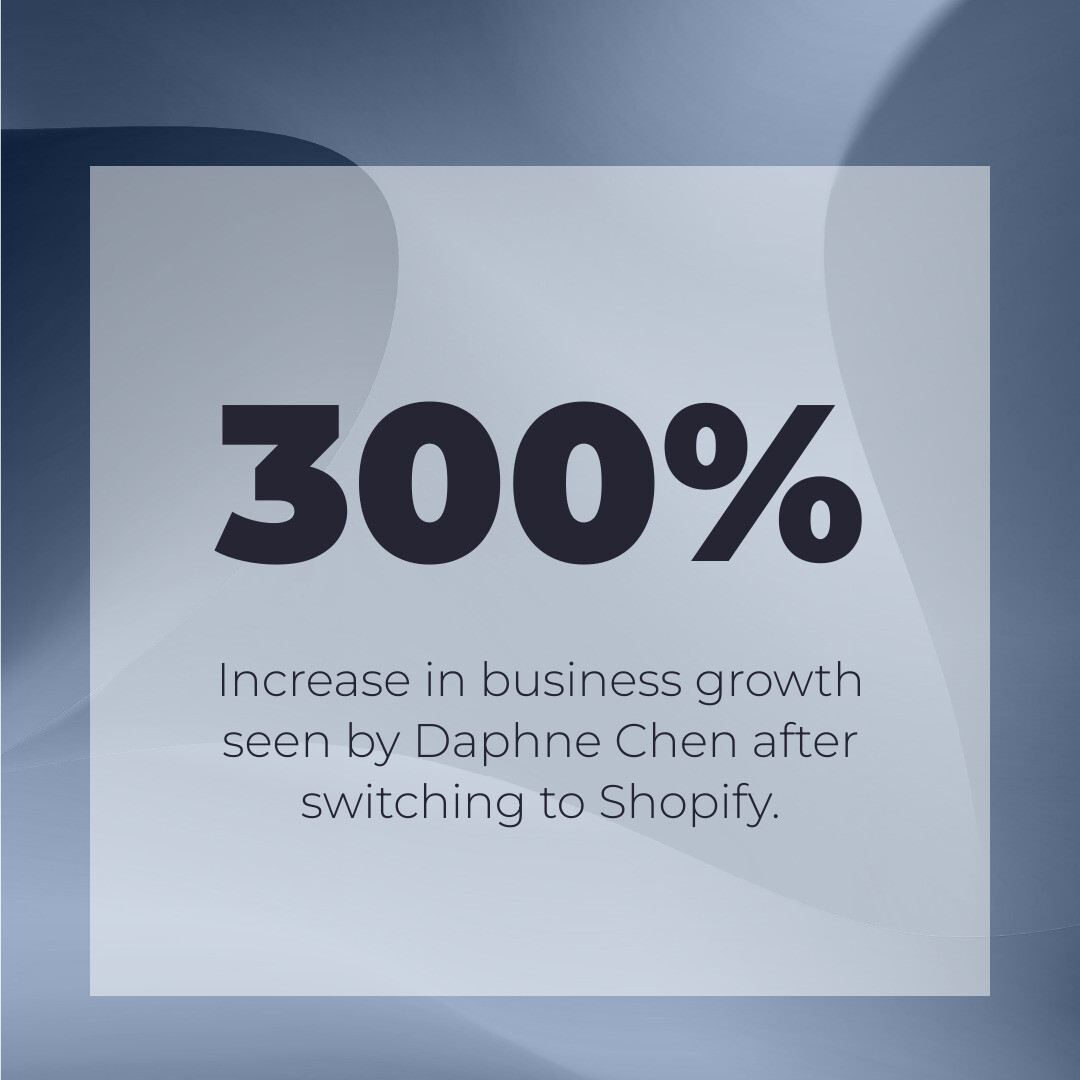
Our clients have seen significant business growth after migrating to Shopify. Take Daphne Chen of Pond Los Angeles, for example. After switching to Shopify, she saw a growth of over 300%. This is a testament to the immense potential for business growth when you choose the right platform and partner.
Ongoing Support
Migrating to Shopify is just the beginning. We provide ongoing support to ensure your store runs smoothly and efficiently. From handling product descriptions to managing customer histories and URL redirects, we take care of every detail. And with Shopify's 24/7 support, you're never alone on this journey.
Why Choose First Pier?
- Expert Guidance: We guide you through every step of the migration process.
- Custom Solutions: We tailor our services to meet your unique business needs.
- Comprehensive Services: From setup to optimization, we handle it all.
Ready to Migrate?
The future of your e-commerce business is bright with Shopify. And with First Pier, your journey to e-commerce success is just beginning. Accept the future with Shopify store migration and let us guide you every step of the way.
Subscribe for More Insights
Enjoyed the read? There’s a heap more where that came from! Hit the ‘Subscribe’ button below, it’s a two-second affair, but the bounty of e-commerce wisdom we share is endless. You’d be silly not to!
For more insights and detailed guides, visit our Shopify E-Commerce Growth Blog.
In conclusion, migrating to Shopify is not just a change of platform but a strategic business move. It's about enabling your business to grow, reach more customers, and maximize sales. The time to move is now. The future is Shopify. And with First Pier, your journey to e-commerce success is just beginning.
By following these steps and leveraging our expertise, you can master your Shopify migration in just 30 days. Ready to get started? Contact us today!


.png)
.png)

